Provisioning Machines with Vagrant
For this tutorial, we’re going to dive right into a “multi vm” setup, that is, two machine instances that are managed in the same Vagrantfile configuration file.
See also: Mutli-VM Environments
Everyone always starts with just one server, but in the real world, we need multiple servers talking to each other, with all of the complexities that it brings; like firewall rules and database configuration settings.
We’ll be creating a “web” server and a “db” server. Later on in this guide, we’ll be installing web/database software and configuring them to talk to each other, and finally deploying a simple application to both.
Initializing a New Vagrant Instance
First, let’s create a directory for our Vagrant cluster to live in:
1 $ mkdir instances/cluster
2 $ cd instances/cluster
Now let’s create a default Vagrantfile and point it to the MyServer.box we created earlier:
1 $ vagrant init MyServer ../../boxes/MyServer.box
2 A `Vagrantfile` has been placed in this directory. You are now
3 ready to `vagrant up` your first virtual environment! Please read
4 the comments in the Vagrantfile as well as documentation on
5 `vagrantup.com` for more information on using Vagrant.
Now, open up your fresh new Vagrantfile and let’s see what it has in it:
 1 # -*- mode: ruby -*-
 2 # vi: set ft=ruby :
 3
 4 Vagrant::Config.run do |config|
 5   # All Vagrant configuration is done here. The most common configuration
 6   # options are documented and commented below. For a complete reference,
 7   # please see the online documentation at vagrantup.com.
 8
 9   # Every Vagrant virtual environment requires a box to build off of.
10   config.vm.box = "MyServer"
11
12   # The url from where the 'config.vm.box' box will be fetched if it
13   # doesn't already exist on the user's system.
14   config.vm.box_url = "../../boxes/MyServer.box"
15
16   # Boot with a GUI so you can see the screen. (Default is headless)
17   # config.vm.boot_mode = :gui
18
19   # Assign this VM to a host-only network IP, allowing you to access it
20   # via the IP. Host-only networks can talk to the host machine as well as
21   # any other machines on the same network, but cannot be accessed (through this
22   # network interface) by any external networks.
23   # config.vm.network :hostonly, "192.168.33.10"
24
25   # Assign this VM to a bridged network, allowing you to connect directly to a
26   # network using the host's network device. This makes the VM appear as another
27   # physical device on your network.
28   # config.vm.network :bridged
29
30   # Forward a port from the guest to the host, which allows for outside
31   # computers to access the VM, whereas host only networking does not.
32   # config.vm.forward_port 80, 8080
33
34   # Share an additional folder to the guest VM. The first argument is
35   # an identifier, the second is the path on the guest to mount the
36   # folder, and the third is the path on the host to the actual folder.
37   # config.vm.share_folder "v-data", "/vagrant_data", "../data"
38
39   # Enable provisioning with Puppet stand alone.  Puppet manifests
40   # are contained in a directory path relative to this Vagrantfile.
41   # You will need to create the manifests directory and a manifest in
42   # the file MyServer.pp in the manifests_path directory.
43   #
44   # An example Puppet manifest to provision the message of the day:
45   #
46   # # group { "puppet":
47   # #   ensure => "present",
48   # # }
49   # #
50   # # File { owner => 0, group => 0, mode => 0644 }
51   # #
52   # # file { '/etc/motd':
53   # #   content => "Welcome to your Vagrant-built virtual machine!
54   # #               Managed by Puppet.\n"
55   # # }
56   #
57   # config.vm.provision :puppet do |puppet|
58   #   puppet.manifests_path = "manifests"
59   #   puppet.manifest_file  = "MyServer.pp"
60   # end
61
62   # Enable provisioning with chef solo, specifying a cookbooks path, roles
63   # path, and data_bags path (all relative to this Vagrantfile), and adding
64   # some recipes and/or roles.
65   #
66   # config.vm.provision :chef_solo do |chef|
67   #   chef.cookbooks_path = "../my-recipes/cookbooks"
68   #   chef.roles_path = "../my-recipes/roles"
69   #   chef.data_bags_path = "../my-recipes/data_bags"
70   #   chef.add_recipe "mysql"
71   #   chef.add_role "web"
72   #
73   #   # You may also specify custom JSON attributes:
74   #   chef.json = { :mysql_password => "foo" }
75   # end
76
77   # Enable provisioning with chef server, specifying the chef server URL,
78   # and the path to the validation key (relative to this Vagrantfile).
79   #
80   # The Opscode Platform uses HTTPS. Substitute your organization for
81   # ORGNAME in the URL and validation key.
82   #
83   # If you have your own Chef Server, use the appropriate URL, which may be
84   # HTTP instead of HTTPS depending on your configuration. Also change the
85   # validation key to validation.pem.
86   #
87   # config.vm.provision :chef_client do |chef|
88   #   chef.chef_server_url = "https://api.opscode.com/organizations/ORGNAME"
89   #   chef.validation_key_path = "ORGNAME-validator.pem"
90   # end
91   #
92   # If you're using the Opscode platform, your validator client is
93   # ORGNAME-validator, replacing ORGNAME with your organization name.
94   #
95   # IF you have your own Chef Server, the default validation client name is
96   # chef-validator, unless you changed the configuration.
97   #
98   #   chef.validation_client_name = "ORGNAME-validator"
99 end
The default Vagrantfile is configured to simply load the box into VirtualBox and start a new instance of it. Let’s try that out jut to make sure everything is working as expected for far.
 1 $ vagrant up
 2 [default] Box MyServer was not found. Fetching box from specified URL...
 3 [vagrant] Downloading with Vagrant::Downloaders::File...
 4 [vagrant] Copying box to temporary location...
 5 [vagrant] Extracting box...
 6 [vagrant] Verifying box...
 7 [vagrant] Cleaning up downloaded box...
 8 [default] Importing base box 'MyServer'...
 9 [default] Matching MAC address for NAT networking...
10 [default] Clearing any previously set forwarded ports...
11 [default] Forwarding ports...
12 [default] -- 22 => 2222 (adapter 1)
13 [default] Creating shared folders metadata...
14 [default] Clearing any previously set network interfaces...
15 [default] Booting VM...
16 [default] Waiting for VM to boot. This can take a few minutes.
17 [default] VM booted and ready for use!
18 [default] Mounting shared folders...
19 [default] -- v-root: /vagrant
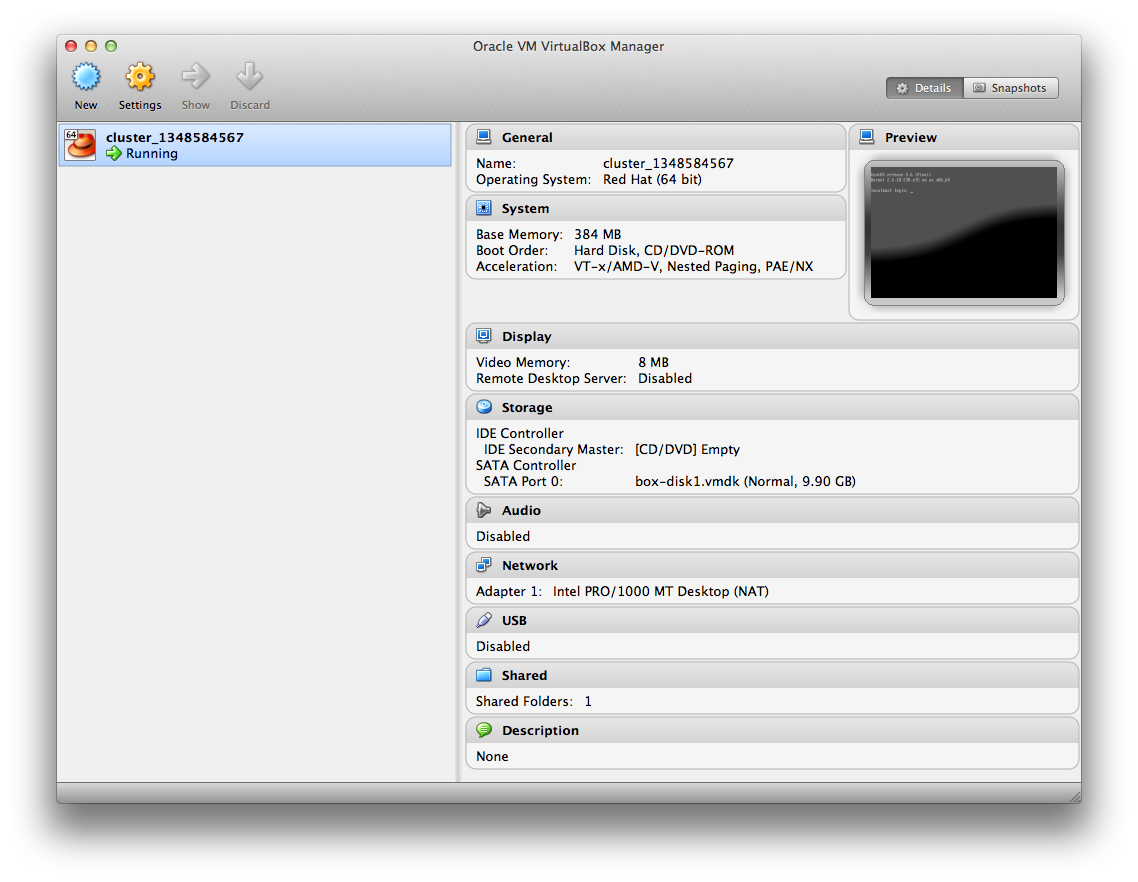
There you have it. One running instance of the MyServer box we’ve build. Don’t believe me? Open VirtubalBox from your Applications. You’ll see a running instance named after your cluster directory:
For further proof, let’s ssh into that instance by running vagrant ssh:
 1 $ vagrant ssh
 2 Last login: Sun Sep  2 18:51:55 2012 from 10.0.2.2
 3
 4 [vagrant@localhost ~]$ ruby --version
 5 ruby 1.9.3p194 (2012-04-20 revision 35410) [x86_64-linux]
 6
 7 [vagrant@localhost ~]$ cat /etc/selinux/config
 8 # This file controls the state of SELinux on the system.
 9 # SELINUX= can take one of these three values:
10 #	enforcing - SELinux security policy is enforced.
11 #	permissive - SELinux prints warnings instead of enforcing.
12 #	disabled - SELinux is fully disabled.
13 SELINUX=disabled
14 # SELINUXTYPE= type of policy in use. Possible values are:
15 #	targeted - Only targeted network daemons are protected.
16 #	strict - Full SELinux protection.
17 SELINUXTYPE=targeted
18
19 exit
20 Connection to 127.0.0.1 closed.
From the top: Once logged into tha instance, we have the Ruby 1.9.3 we built and see that selinux is dsabled, work performed in
postinstall.shwhen we build this box earlier.
Lastly, let’s destroy this instance before we create a multi vm cluster. Do that by simply running vagrant destroy:
1 $ vagrant destroy
2 Are you sure you want to destroy the 'default' VM? [Y/N] Y
3 [default] Forcing shutdown of VM...
4 [default] Destroying VM and associated drives...
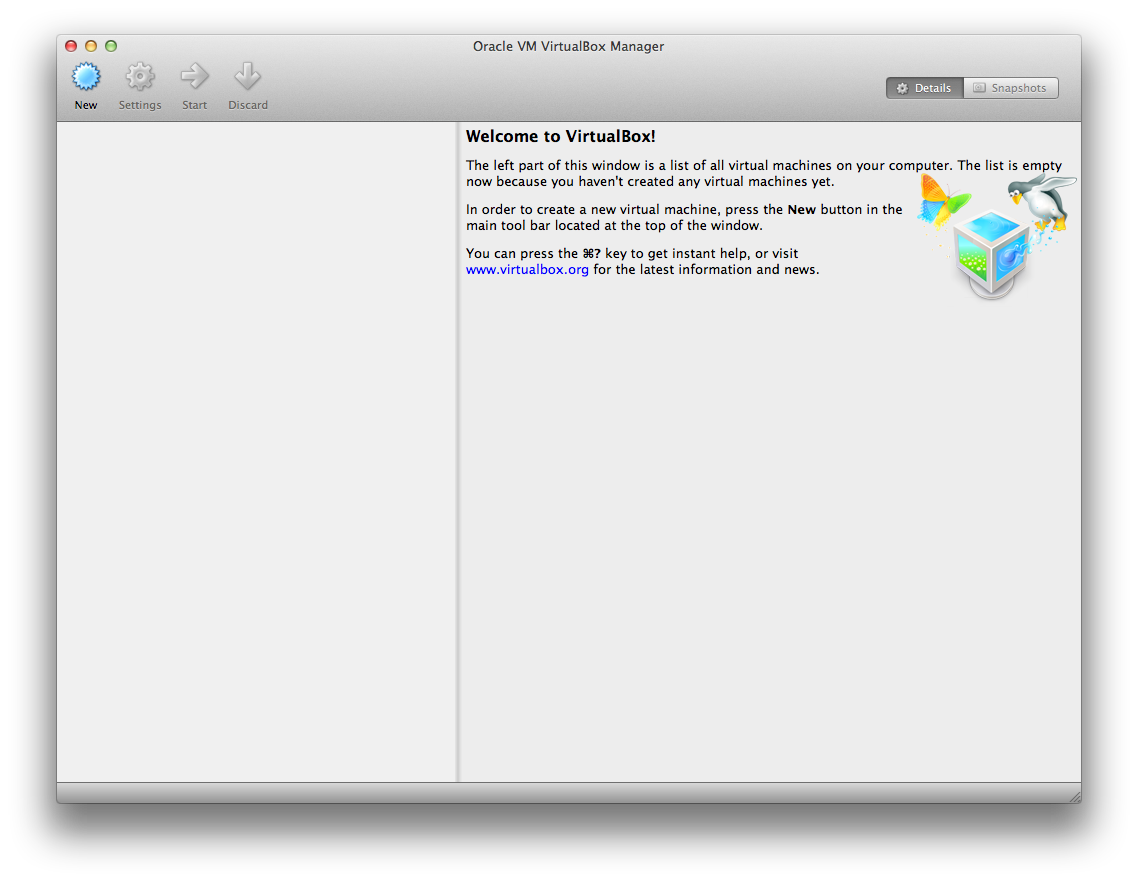
IF you open up VirtualBox from Applications again, the instance should now be gone.
Creating a Vagrant Cluster
To create a cluster containing a web and db instance of the MyServer box, we simply define both at the bottom of the Vagrantfile before the end:
 1   config.vm.define :web do |web_config|
 2     web_config.vm.host_name = "web"
 3     web_config.vm.network :hostonly, "10.10.10.10"
 4     web_config.vm.forward_port 22, 2210
 5   end
 6
 7   config.vm.define :db do |db_config|
 8     db_config.vm.host_name = "db"
 9     db_config.vm.network :hostonly, "10.10.10.11"
10     db_config.vm.forward_port 22, 2211
11   end
12 end
From the top: Multi-VM configurations are just a configuration block withing the main configuration, and it inherits all global settings. Onb Line 1 we create a web block, assign it a host name, tell it to use a specific ip address locally, and tell it how to forward the ssh port from localhost to the instance. WE do the same thing for the db instance, giving it a different ip address, and a different ssh port on localhost.
If we didn’t supply different ssh ports, vagrant is smart enough to notice the collision and randomly pick another port.
Now, just like before, we can start both cluster instance using vagrant up:
 1 $ vagrant up
 2 [web] Importing base box 'MyServer'...
 3 [web] Matching MAC address for NAT networking...
 4 [web] Clearing any previously set forwarded ports...
 5 [web] Forwarding ports...
 6 [web] -- 22 => 2210 (adapter 1)
 7 [web] Creating shared folders metadata...
 8 [web] Clearing any previously set network interfaces...
 9 [web] Preparing network interfaces based on configuration...
10 [web] Booting VM...
11 [web] Waiting for VM to boot. This can take a few minutes.
12 [web] VM booted and ready for use!
13 [web] Configuring and enabling network interfaces...
14 [web] Setting host name...
15 [web] Mounting shared folders...
16 [web] -- v-root: /vagrant
17 [db] Importing base box 'MyServer'...
18 [db] Matching MAC address for NAT networking...
19 [db] Clearing any previously set forwarded ports...
20 [db] Forwarding ports...
21 [db] -- 22 => 2211 (adapter 1)
22 [db] Creating shared folders metadata...
23 [db] Clearing any previously set network interfaces...
24 [db] Preparing network interfaces based on configuration...
25 [db] Booting VM...
26 [db] Waiting for VM to boot. This can take a few minutes.
27 [db] VM booted and ready for use!
28 [db] Configuring and enabling network interfaces...
29 [db] Setting host name...
30 [db] Mounting shared folders...
31 [db] -- v-root: /vagrant
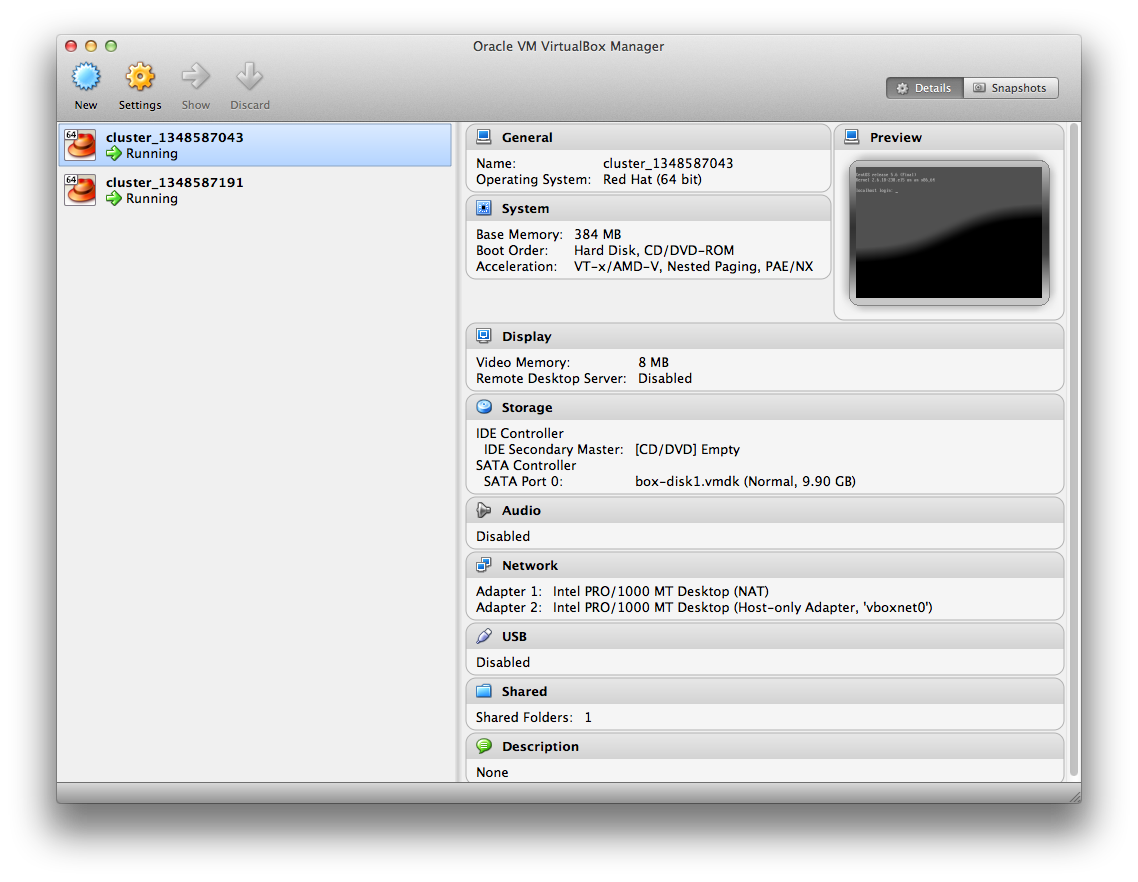
If you open up VirtualBox again (last time, I promise), you will see both running instances:
And we can now ssh into both instances by name:
1 $ vagrant ssh web
2 Last login: Sun Sep  2 18:51:55 2012 from 10.0.2.2
3 [vagrant@web ~]$ exit
4
5 $ vagrant ssh db
6 Last login: Sun Sep  2 18:51:55 2012 from 10.0.2.2
7 [vagrant@db ~]$ exit
And since we’re specifying specific ip addresses, those are now available outside of the vagrant ssh command:
 1 $ ssh vagrant@10.10.10.10
 2 The authenticity of host '10.10.10.10 (10.10.10.10)' can't be established.
 3 RSA key fingerprint is e5:5d:14:33:5c:2b:c7:60:31:01:ea:74:ee:6b:50:50.
 4 Are you sure you want to continue connecting (yes/no)? yes
 5 vagrant@10.10.10.10's password:
 6 Last login: Tue Sep 25 16:47:53 2012 from 10.0.2.2
 7 [vagrant@web ~]$ exit
 8
 9 $ ssh vagrant@10.10.10.11
10 The authenticity of host '10.10.10.11 (10.10.10.11)' can't be established.
11 RSA key fingerprint is e5:5d:14:33:5c:2b:c7:60:31:01:ea:74:ee:6b:50:50.
12 Are you sure you want to continue connecting (yes/no)? yes
13 vagrant@10.10.10.11's password:
14 Last login: Tue Sep 25 16:48:19 2012 from 10.0.2.2
15 [vagrant@db ~]$ exit
Lastly, let’s go aheaad and destroy these instances for now.
1 $ vagrant destroy
2 Are you sure you want to destroy the 'db' VM? [Y/N] Y
3 [db] Forcing shutdown of VM...
4 [db] Destroying VM and associated drives...
5 Are you sure you want to destroy the 'web' VM? [Y/N] Y
6 [web] Forcing shutdown of VM...
7 [web] Destroying VM and associated drives...
Commit Our Work
Let’s add our vagrant cluster definition to the repository.
1 $ cd ../..
2 $ git add .
3 $ git commit -m "Added cluster Vagrantfile"
4 [master b196f9a] Added cluster Vagrantfile
5  1 file changed, 111 insertions(+)
6  create mode 100644 instances/cluster/Vagrantfile
To Continue…
- Introduction – Introduction
- Installing Prerequisites – XCode, CommandLineTools, Homebrew, RVM, Ruby, and VirtualBox
- Project Setup – Create the git repository and directory structure for Vagrant, Chef, etc.
- Vagrant/Veewee Installation – Install Vagrant/Vewee to create/control VirtualBox machines
- Define/Create a Vagrant Box – Define and Create a Vagrant Box for use i VirtualBox
- Provisioning Machines with Vagrant – Provision a cluster (Web/DB) of machines using Vagrant
- Configuring Machines Using Chef Solo – Configuring our new machine instances using Chef Solo
- Customizing Recipes for Our Application – Customize the recipes we have to prepare for our application deployment
- Create and Deploy a Rails Applications – Create a simple Rails application and deploy it to our Vagrant instances
- Migrate from Chef Solo to Hosted Chef – Migrate from using Chef Solo to hosted Chef at OpsCode
- Migrate Servers to RackCloud – Migrate your servers from VirtualBox to “The Cloud” using Rackspace.