Prerequisites
Before we start rolling in the servers, we need to install a few prerequisites.
- Install XCode
- Install Command Line Tools
- Install Homebrew
- Install RVM
- Install Ruby 1.9.3
- Install VirtualBox
Install XCode
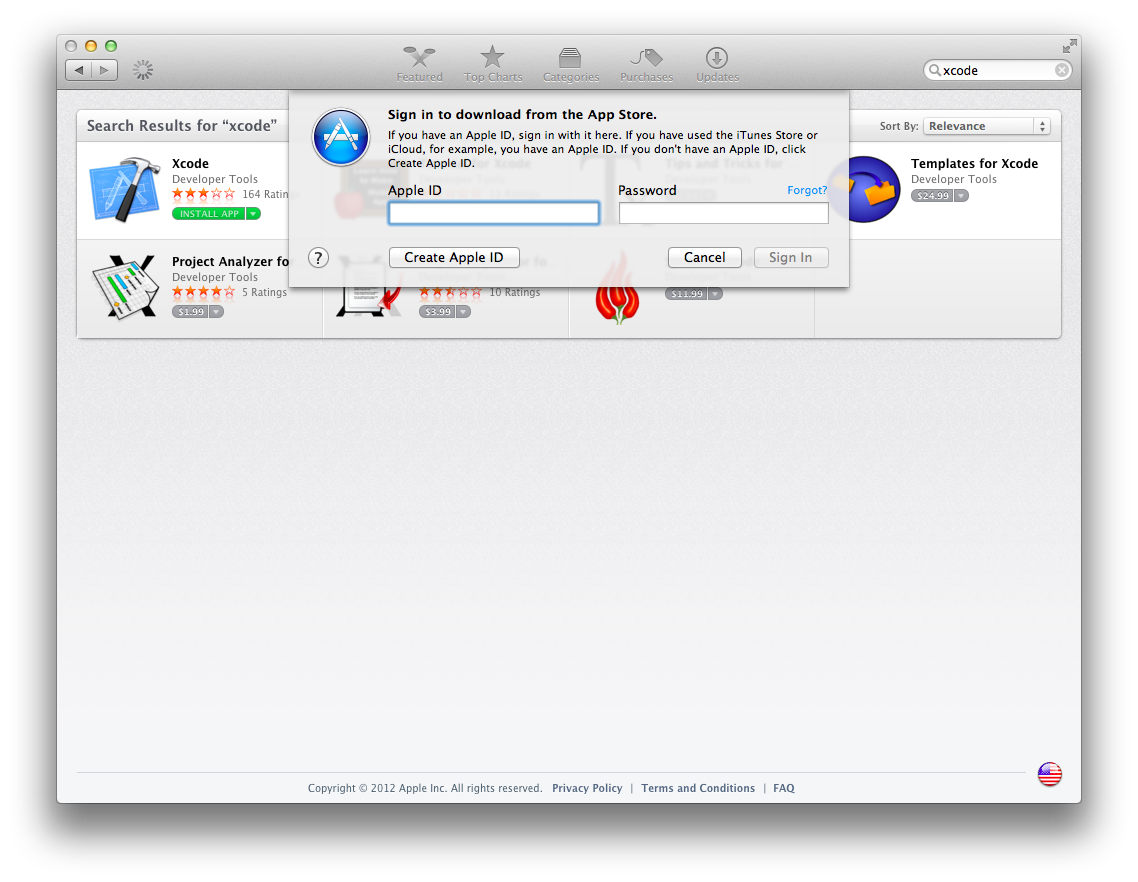
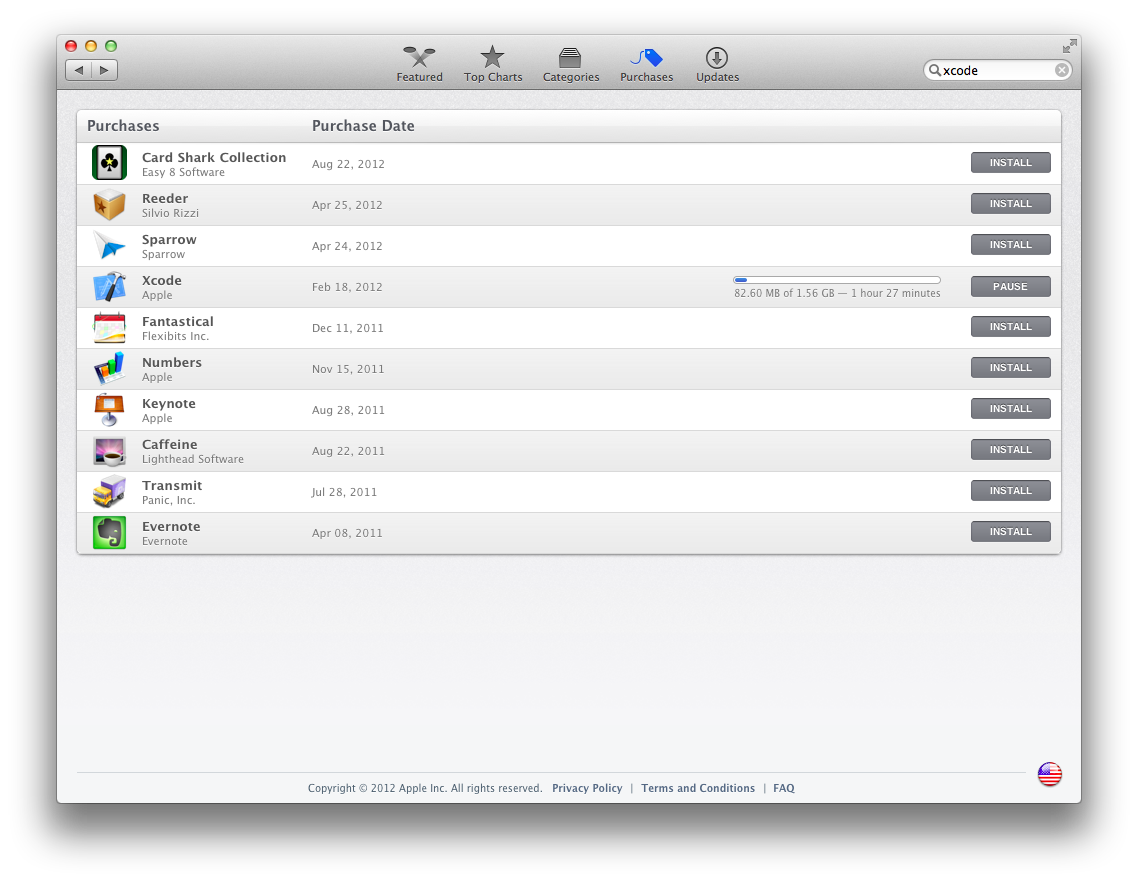
First, let’s install XCode from the App Store. Open App Store from Applications and search for XCode:

Click on the “Free” button under XCode to install. Enter your Apple ID account information to sign into the App Store and being the download.
Grab a fresh beverage and wait a while for the download to complete. :-)
Once the download is complete, XCode will be installed into your Applications folder.
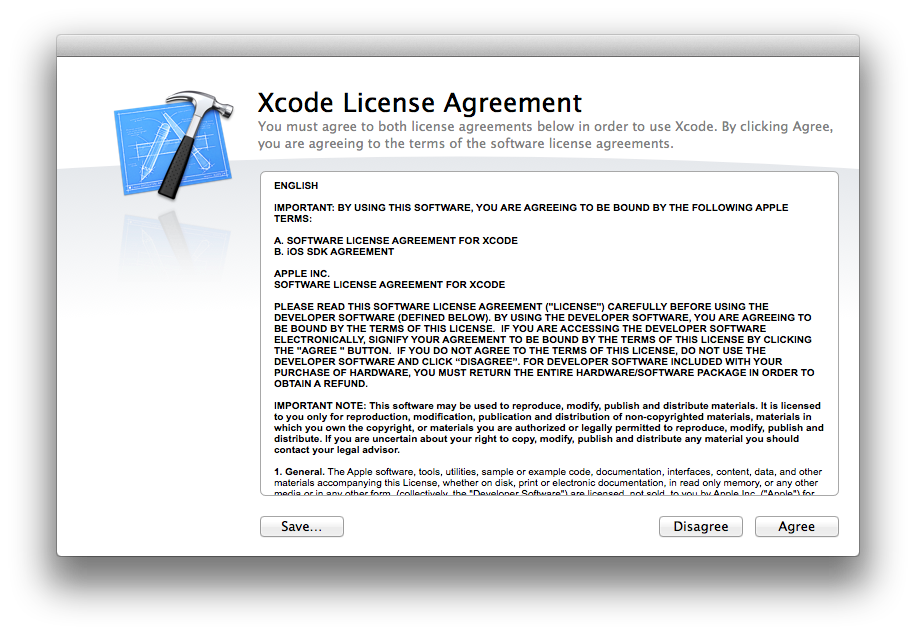
Run the XCode app from your Applications folder and accept the license agreements.
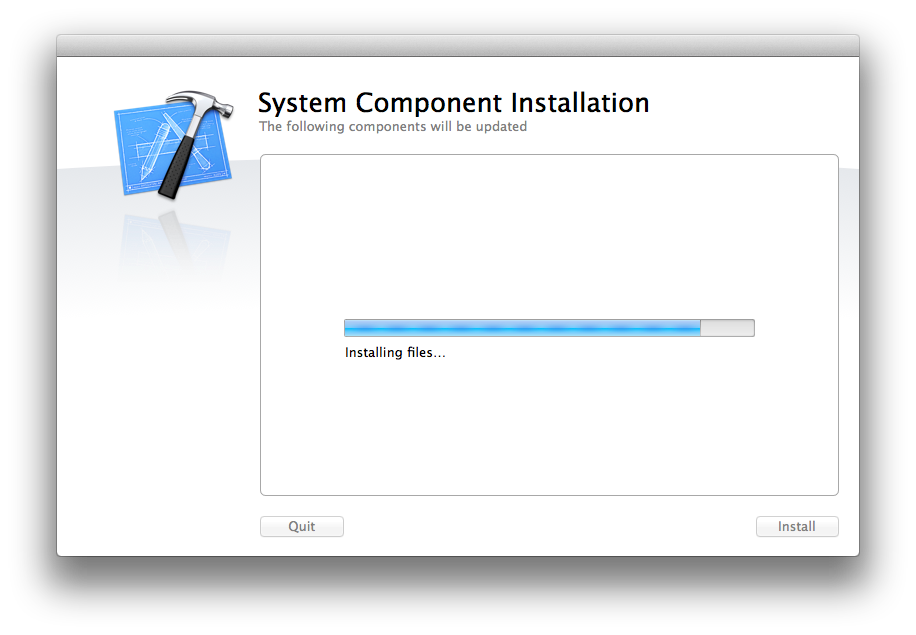
You will then be prompted to complete the installation. Click Install.

XCode will install the System Components.
And finally, we’re actually done installing XCode! W00t!
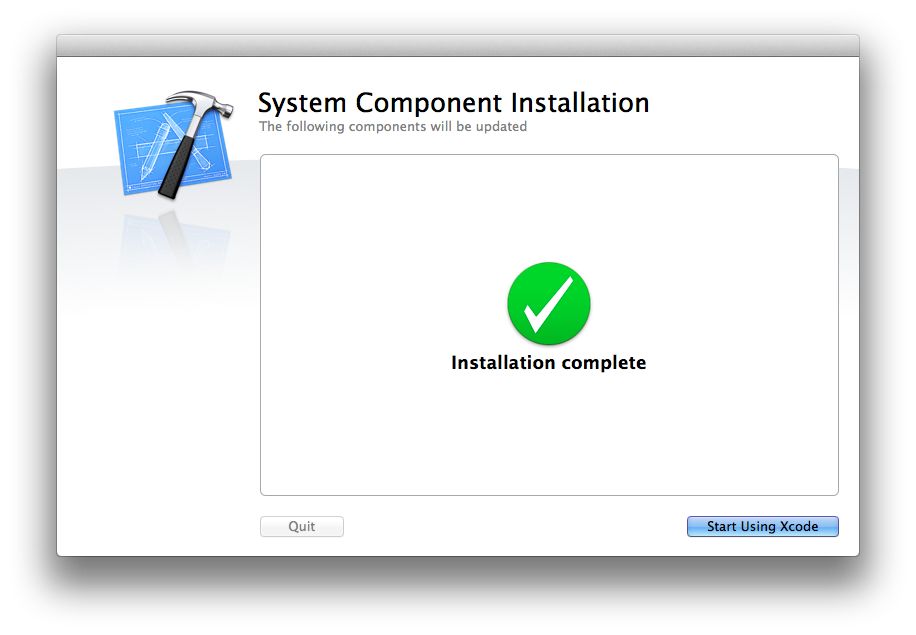
Go ahead and click Start Using XCode.
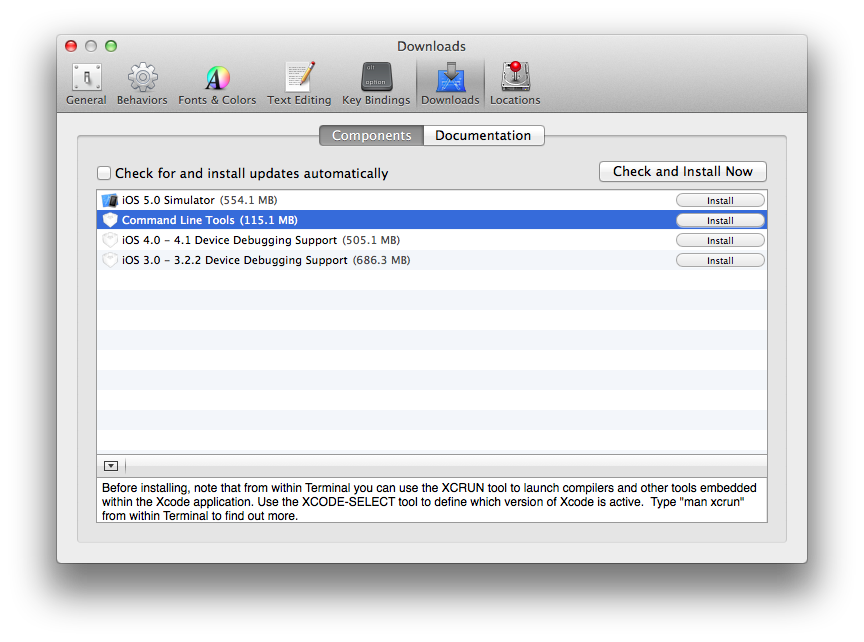
Install Command Line Tools
In order to compile various ruby gems, and ruby itself, we need to install the traditional *nix command line tools.
Within XCode, open the XCode menu, then select Preferences…
From dialog box, choose the Downloads tab, and click the Install button next to the Command Line Tools item.
Install Homebew
Homebew is the newer source/package management tool on the block for OSX. It makes it easy to download, configure and compile various open source software, like Ruby or MySQL.
Homebrew Home Page
The Hitchhiker’s Guide to Riding a Mountain Lion
To install Homebrew, open Terminal and enter the folowing command and hit RETURN:
1 $ ruby <(curl -fsSkL raw.github.com/mxcl/homebrew/go)
This will download and run the latest Homebrew install script. It will prompt you for your password so it can configure directoy permissions:
 1 ==> This script will install:
 2 /usr/local/bin/brew
 3 /usr/local/Library/...
 4 /usr/local/share/man/man1/brew.1
 5
 6 Press enter to continue
 7 ==> /usr/bin/sudo /bin/mkdir /usr/local
 8
 9 WARNING: Improper use of the sudo command could lead to data loss
10 or the deletion of important system files. Please double-check your
11 typing when using sudo. Type "man sudo" for more information.
12
13 To proceed, enter your password, or type Ctrl-C to abort.
14
15 Password:
Once you enter your password and hit RETURN, homebrew will continue to be installed:
 1 ==> /usr/bin/sudo /bin/chmod g+rwx /usr/local
 2 ==> /usr/bin/sudo /usr/bin/chgrp admin /usr/local
 3 ==> Downloading and Installing Homebrew...
 4 remote: Counting objects: 83262, done.
 5 remote: Compressing objects: 100% (39349/39349), done.
 6 remote: Total 83262 (delta 57515), reused 66222 (delta 43088)
 7 Receiving objects: 100% (83262/83262), 11.76 MiB | 236 KiB/s, done.
 8 Resolving deltas: 100% (57515/57515), done.
 9 From https://github.com/mxcl/homebrew
10  * [new branch]      master     -> origin/master
11 HEAD is now at a63eec0 the_silver_searcher: don't assume /usr/local
12 ==> Installation successful!
13 You should run `brew doctor' *before* you install anything.
14 Now type: brew help
As suggested, run the brew doctor command:
1 $ brew doctor
2 Your system is raring to brew.
Install RVM
Now that we have Homebrew installed, let’s install RVM. Not jut a clever title, RVM is a Ruby Version Manager that allows you to install and manage multiple versions of Ruby on your operating system in a sane manner.
Open Terminal and enter the following command and hit RETURN:
1 $ curl -L https://get.rvm.io | bash -s stable
This will download and run the latest RVM installer:
 1   % Total    % Received % Xferd  Average Speed   Time    Time     Time  Current
 2                                  Dload  Upload   Total   Spent    Left  Speed
 3 100   185  100   185    0     0    119      0  0:00:01  0:00:01 --:--:--   133
 4 100  9984  100  9984    0     0   4306      0  0:00:02  0:00:02 --:--:-- 31495
 5 Downloading RVM from wayneeseguin branch stable
 6   % Total    % Received % Xferd  Average Speed   Time    Time     Time  Current
 7                                  Dload  Upload   Total   Spent    Left  Speed
 8 100   125  100   125    0     0    176      0 --:--:-- --:--:-- --:--:--   494
 9 100 1047k  100 1047k    0     0   191k      0  0:00:05  0:00:05 --:--:--  252k
10
11 Installing RVM to /Users/claco/.rvm/
12     Adding rvm PATH line to /Users/claco/.bashrc /Users/claco/.zshrc.
13     Adding rvm loading line to /Users/claco/.bash_login /Users/claco/.zlogin.
14
15 # RVM:  Shell scripts enabling management of multiple ruby environments.
16 # RTFM: https://rvm.io/
17 # HELP: http://webchat.freenode.net/?channels=rvm (#rvm on irc.freenode.net)
18 # Cheatsheet: http://cheat.errtheblog.com/s/rvm/
19 # Screencast: http://screencasts.org/episodes/how-to-use-rvm
20
21 # In case of any issues read output of 'rvm requirements' and/or 'rvm notes'
22
23 Installation of RVM in /Users/claco/.rvm/ is almost complete:
24
25   * To start using RVM you need to run `source /Users/claco/.rvm/scripts/rvm`
26     in all your open shell windows, in rare cases you need to reopen all shell windows.
27
28 # claco,
29 #
30 #   Thank you for using RVM!
31 #   I sincerely hope that RVM helps to make your life easier and more enjoyable!!!
32 #
33 # ~Wayne
34
35
36 rvm 1.15.8 (stable) by Wayne E. Seguin <wayneeseguin@gmail.com>, Michal Papis <mpapis@gmail.com> [https://rvm.io/]
As suggested by the RVM installer, let’s ensure rvm is loaded into the current Terminal session and try it out:
1 $ source /Users/claco/.rvm/scripts/rvm
2 $ rvm list
3
4 rvm rubies
5
6
7 # No rvm rubies installed yet. Try 'rvm help install'.
Install Ruby 1.9.3
While OSX comes with Ruby 1.8.7, we’re going to install a more up to date Ruby, a version that we will also install on the servers we provision going forward.
The install Ruby 1.9.3, open Terminal, type in the following command and hit RETURN:
1 $ rvm install 1.9.3
The first time you install Ruby using RVM, you will be presented with a huge page of information that may or may not be pertinent. For Ruby 1.9.3, we received the following messages:
1 Ruby (and needed base gems) for your selection will be installed shortly.
2 Before it happens, please read and execute the instructions below.
3 Please use a separate terminal to execute any additional commands.
4 ...
5 For Ruby 1.9.3: Install libksba # If using Homebrew, 'brew install libksba'
6 ...
7 Press 'q' to continue.
For OSX 10.8.2, XCode 4.5, and Ruby 1.9.3, we can ignore most of the output with the exception of having to install libksba:
Hit CTRL-C to cancel that install, and run the following command in Terminal:
1 $ brew install libksba
This will download, configure, and compile libkba:
 1 ==> Installing libksba dependency: libgpg-error
 2 ==> Downloading ftp://ftp.gnupg.org/gcrypt/libgpg-error/libgpg-error-1.10.tar.bz2
 3 ######################################################################## 100.0%
 4 ######################################################################## 100.0%==>
 5     ./configure --prefix=/usr/local/Cellar/libgpg-error/1.10
 6 ==> make install
 7 /usr/local/Cellar/libgpg-error/1.10: 14 files, 236K, built in 17 seconds
 8 ==> Installing libksba
 9 ==> Downloading ftp://ftp.gnupg.org/gcrypt/libksba/libksba-1.2.0.tar.bz2
10 ######################################################################## 100.0%
11 ######################################################################## 100.0%==>
12     ./configure --prefix=/usr/local/Cellar/libksba/1.2.0
13 ==> make install
14 /usr/local/Cellar/libksba/1.2.0: 9 files, 308K, built in 23 seconds
Now, let’s install that ruby. In a Terminal, rerun rvm install 1.9.3:
 1 $ rvm install 1.9.3
 2 Fetching yaml-0.1.4.tar.gz to /Users/claco/.rvm/archives
 3   % Total    % Received % Xferd  Average Speed   Time    Time     Time  Current
 4                                  Dload  Upload   Total   Spent    Left  Speed
 5 100  460k  100  460k    0     0   141k      0  0:00:03  0:00:03 --:--:--  167k
 6 Extracting yaml-0.1.4.tar.gz to /Users/claco/.rvm/src
 7 Configuring yaml in /Users/claco/.rvm/src/yaml-0.1.4.
 8 Compiling yaml in /Users/claco/.rvm/src/yaml-0.1.4.
 9 Installing yaml to /Users/claco/.rvm/usr
10 Building 'ruby-1.9.3-p194' using clang - but it's not (fully) supported, expect errors.
11 Installing Ruby from source to: /Users/claco/.rvm/rubies/ruby-1.9.3-p194, this may take a while depending on your cpu(s)...
12
13 ruby-1.9.3-p194 - #downloading ruby-1.9.3-p194, this may take a while depending on your connection...
14   % Total    % Received % Xferd  Average Speed   Time    Time     Time  Current
15                                  Dload  Upload   Total   Spent    Left  Speed
16 100 9610k  100 9610k    0     0  40906      0  0:04:00  0:04:00 --:--:-- 33824
17 ruby-1.9.3-p194 - #extracting ruby-1.9.3-p194 to /Users/claco/.rvm/src/ruby-1.9.3-p194
18 ruby-1.9.3-p194 - #extracted to /Users/claco/.rvm/src/ruby-1.9.3-p194
19 ruby-1.9.3-p194 - #configuring
20 ruby-1.9.3-p194 - #compiling
21 ruby-1.9.3-p194 - #installing
22 Retrieving rubygems-1.8.24
23   % Total    % Received % Xferd  Average Speed   Time    Time     Time  Current
24                                  Dload  Upload   Total   Spent    Left  Speed
25 100  371k  100  371k    0     0   107k      0  0:00:03  0:00:03 --:--:--  132k
26 Extracting rubygems-1.8.24 ...
27 Removing old Rubygems files...
28 Installing rubygems-1.8.24 for ruby-1.9.3-p194 ...
29 Installation of rubygems completed successfully.
30 ruby-1.9.3-p194 - adjusting #shebangs for (gem irb erb ri rdoc testrb rake).
31 ruby-1.9.3-p194 - #importing default gemsets (/Users/claco/.rvm/gemsets/)
32 Install of ruby-1.9.3-p194 - #complete
33 Ruby 'ruby-1.9.3-p194' was built using clang - but it's not (fully) supported, expect errors.
Feel free to ignore the warnings about clang and to expect errors. It’s perfectly stable. Now let’s check out our new Ruby 1.9.3 install:
$ rvm list

rvm rubies

=* ruby-1.9.3-p194 [ x86_64 ]

# => - current
# =* - current && default
#  * - default

$ ruby --version
ruby 1.9.3p194 (2012-04-20 revision 35410) [x86_64-darwin12.1.0]

$ which gem
/Users/claco/.rvm/rubies/ruby-1.9.3-p194/bin/gem

gem list

*** LOCAL GEMS ***

bundler (1.2.0)
rake (0.9.2.2)
rubygems-bundler (1.1.0)
rvm (1.11.3.5)
Install VirtualBox
Now that we have Homebrew installed, let’s install RVM. Not jut a clever title, RVM is a Ruby Version Manager that allows you to install and manage multiple versions of Ruby on your operating system in a sane manner.
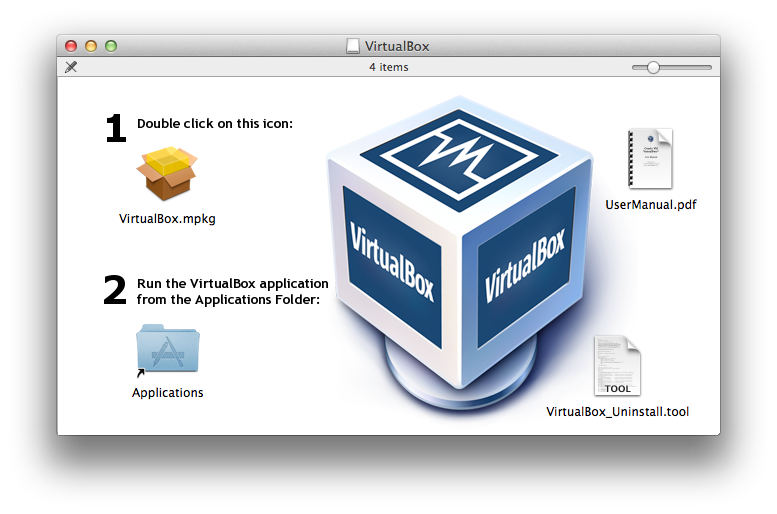
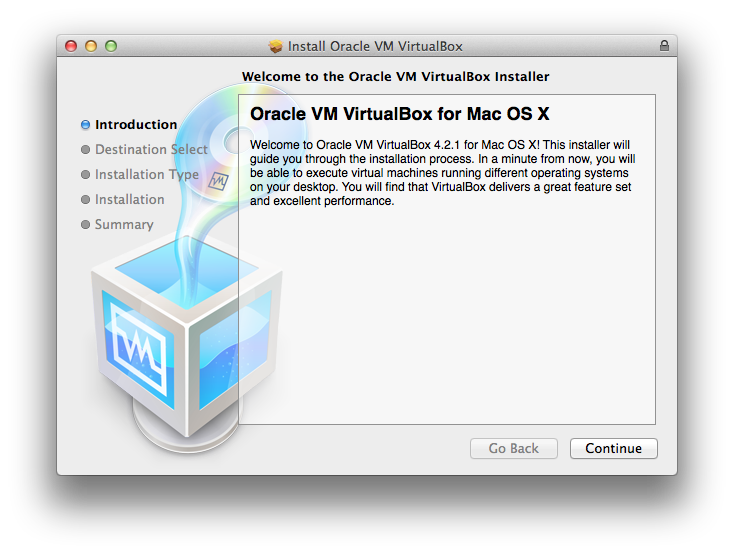
Download the VirtualBox 4.2.1 installer from the downloads page. Double click VirtualBox.mpkfg to start the install process.
At this moment, veewee, which we’ll use later to create boxes, uses an outdated virtualbox gem, which crashes against VirtualBox 4.2.1. For now, install VirtualBox 4.1.22, which works as intended until workarounds become available. Also note, 4.1.23 will be downloaded from the downloads page, but there are no 4.1.23 guest additions, so machine configuration will fail later if you’re not careful.
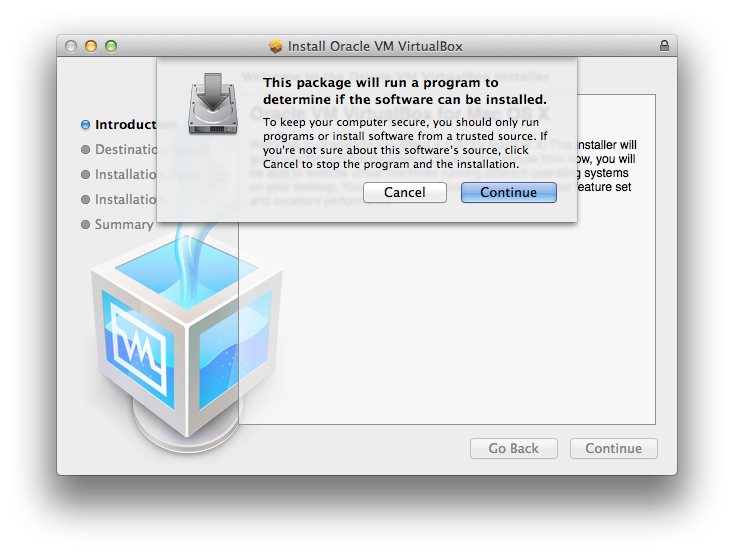
You will be prompted to allow the software to scan your machine for compatibility. Click Continue.
Leave the default Destination. Click Continue on the next screen.
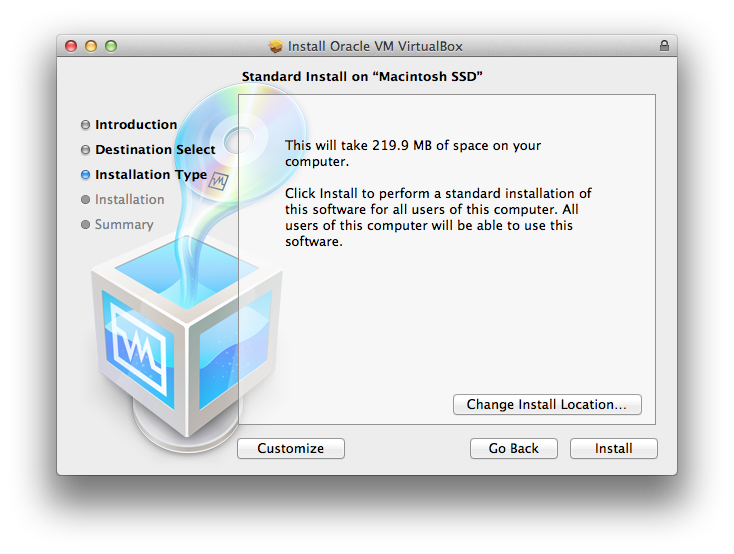
Leave the default Installation Type. Click Continue.
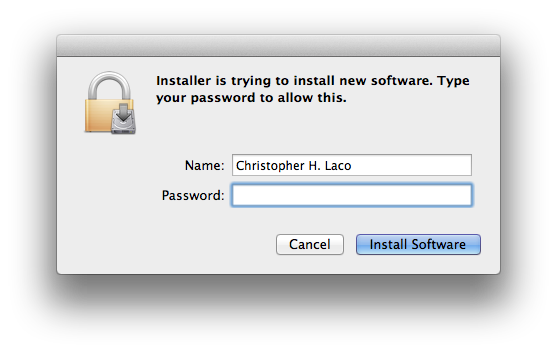
You will be prompted for your password so installation can write files to your computer. Enter your password and click Install Software.
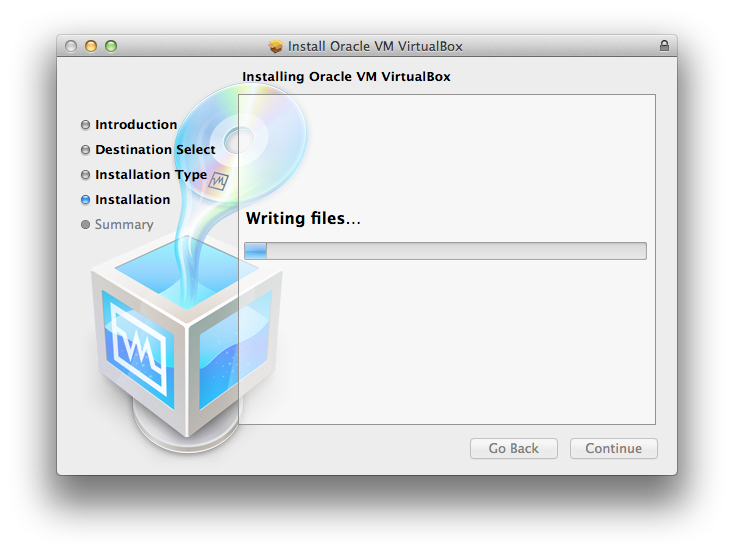
The installer will do its magic and show it’s progress.
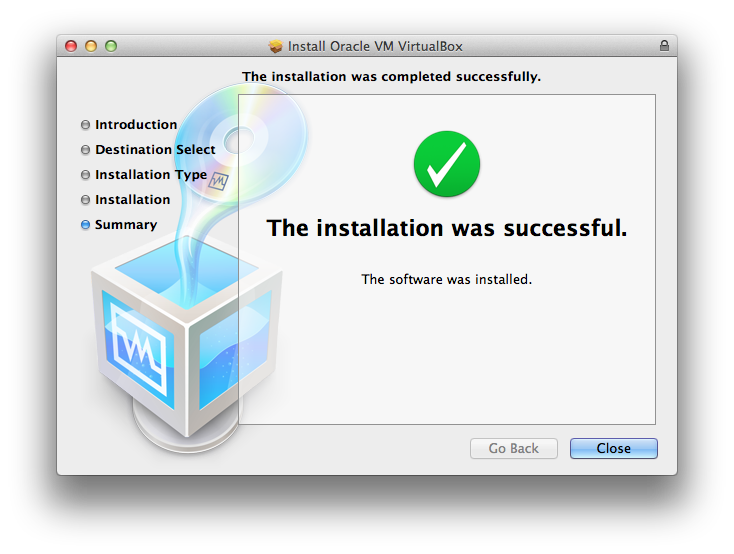
And if all goes well, installation has finished!
To Continue…
- Introduction – Introduction
- Installing Prerequisites – XCode, CommandLineTools, Homebrew, RVM, Ruby, and VirtualBox
- Project Setup – Create the git repository and directory structure for Vagrant, Chef, etc.
- Vagrant/Veewee Installation – Install Vagrant/Vewee to create/control VirtualBox machines
- Define/Create a Vagrant Box – Define and Create a Vagrant Box for use i VirtualBox
- Provisioning Machines with Vagrant – Provision a cluster (Web/DB) of machines using Vagrant
- Configuring Machines Using Chef Solo – Configuring our new machine instances using Chef Solo
- Customizing Recipes for Our Application – Customize the recipes we have to prepare for our application deployment
- Create and Deploy a Rails Applications – Create a simple Rails application and deploy it to our Vagrant instances
- Migrate from Chef Solo to Hosted Chef – Migrate from using Chef Solo to hosted Chef at OpsCode
- Migrate Servers to RackCloud – Migrate your servers from VirtualBox to “The Cloud” using Rackspace.