OpenStack Home Lab Part Duex: Network in a Network
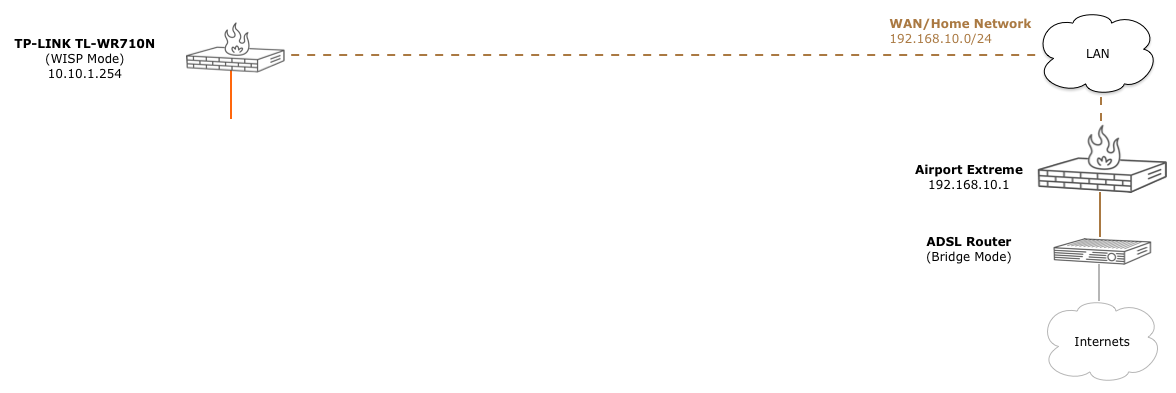
In the last post, I mentioned that due to not being able to add routes to the Apple Airport Extreme, I decided on running double NAT, a network in a network, using the TP-LINK TL-WR710N 150Mbps Wireless N Mini Pocket Router. In this post, I’ll configure the pocket wifi router to connect to my existing Wifi network and expose a new Wifi lab network using the gateway address we’ll point to later in the switch configurations.
Configuring WISP Mode
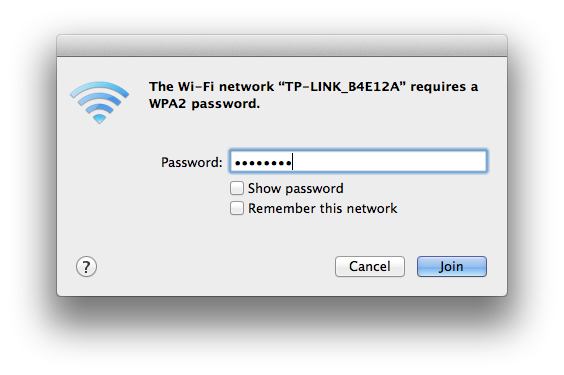
The first time you plug the TL-WR710N in, you should see a new Wifi Network. The name will vary with each unit, but it will look something like this:

Join the new network. The default password will also vary with each unit. It is printed on a label on the side of the router along with the MAC address, etc.
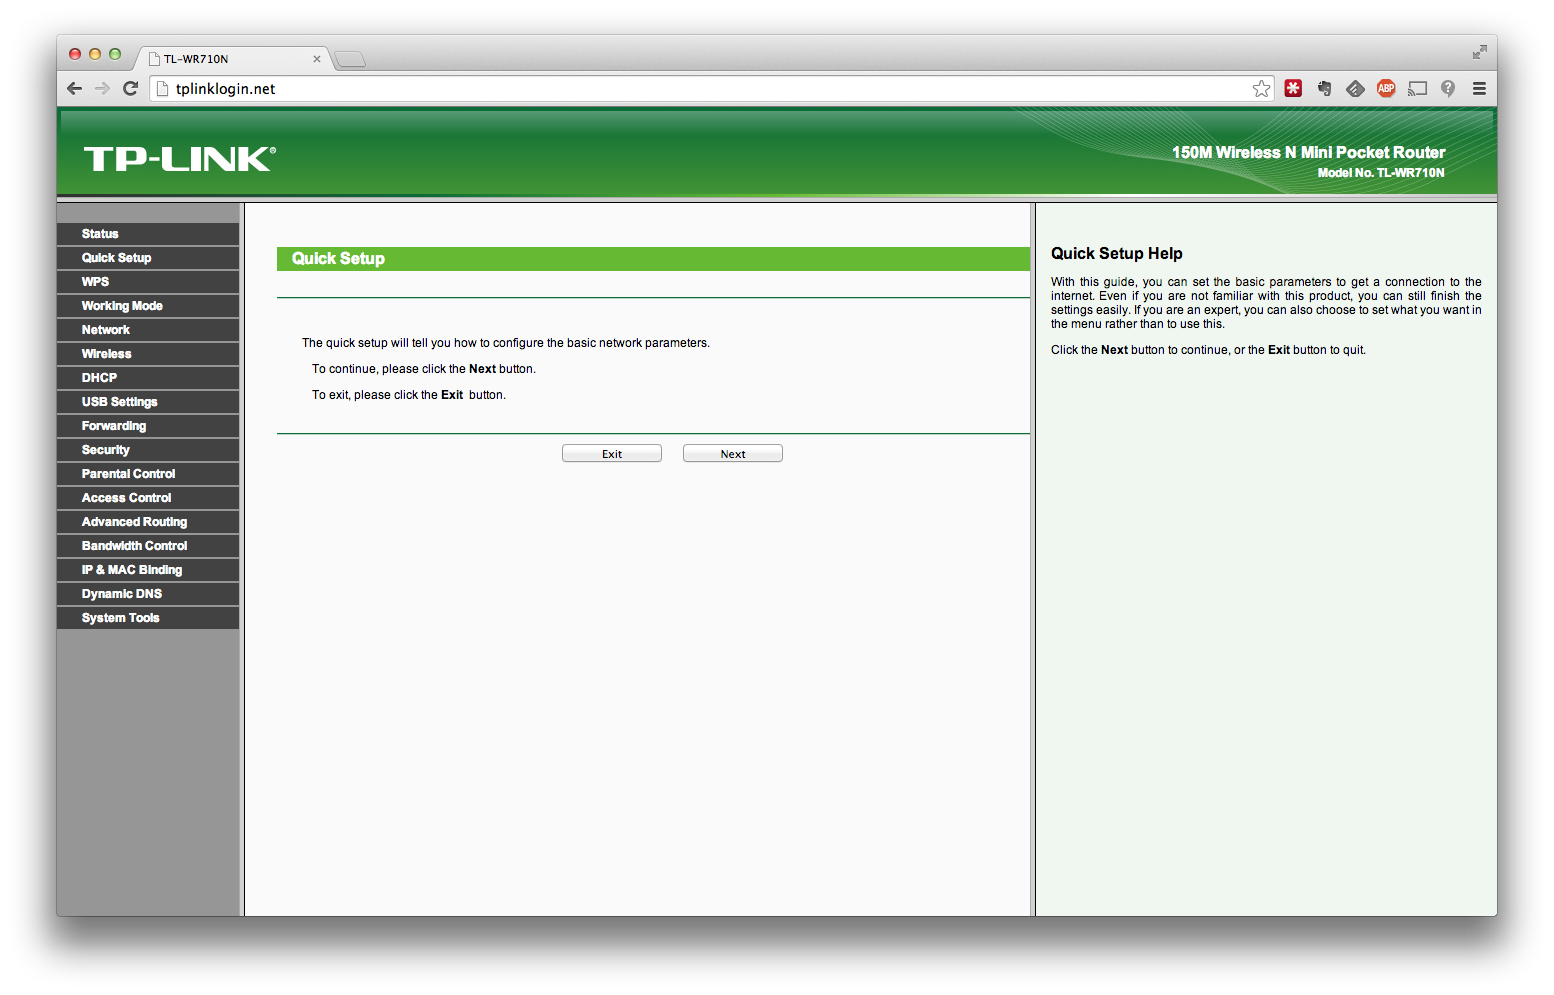
Once you have joined the new Wifi network, in your browser, go to the admin page. For most of these TP-LINK dongles, they have included a dns shortcut: http://tplinklogin.net/. The default username/password is admin/admin.

On the Quick Setup screen, click Next.
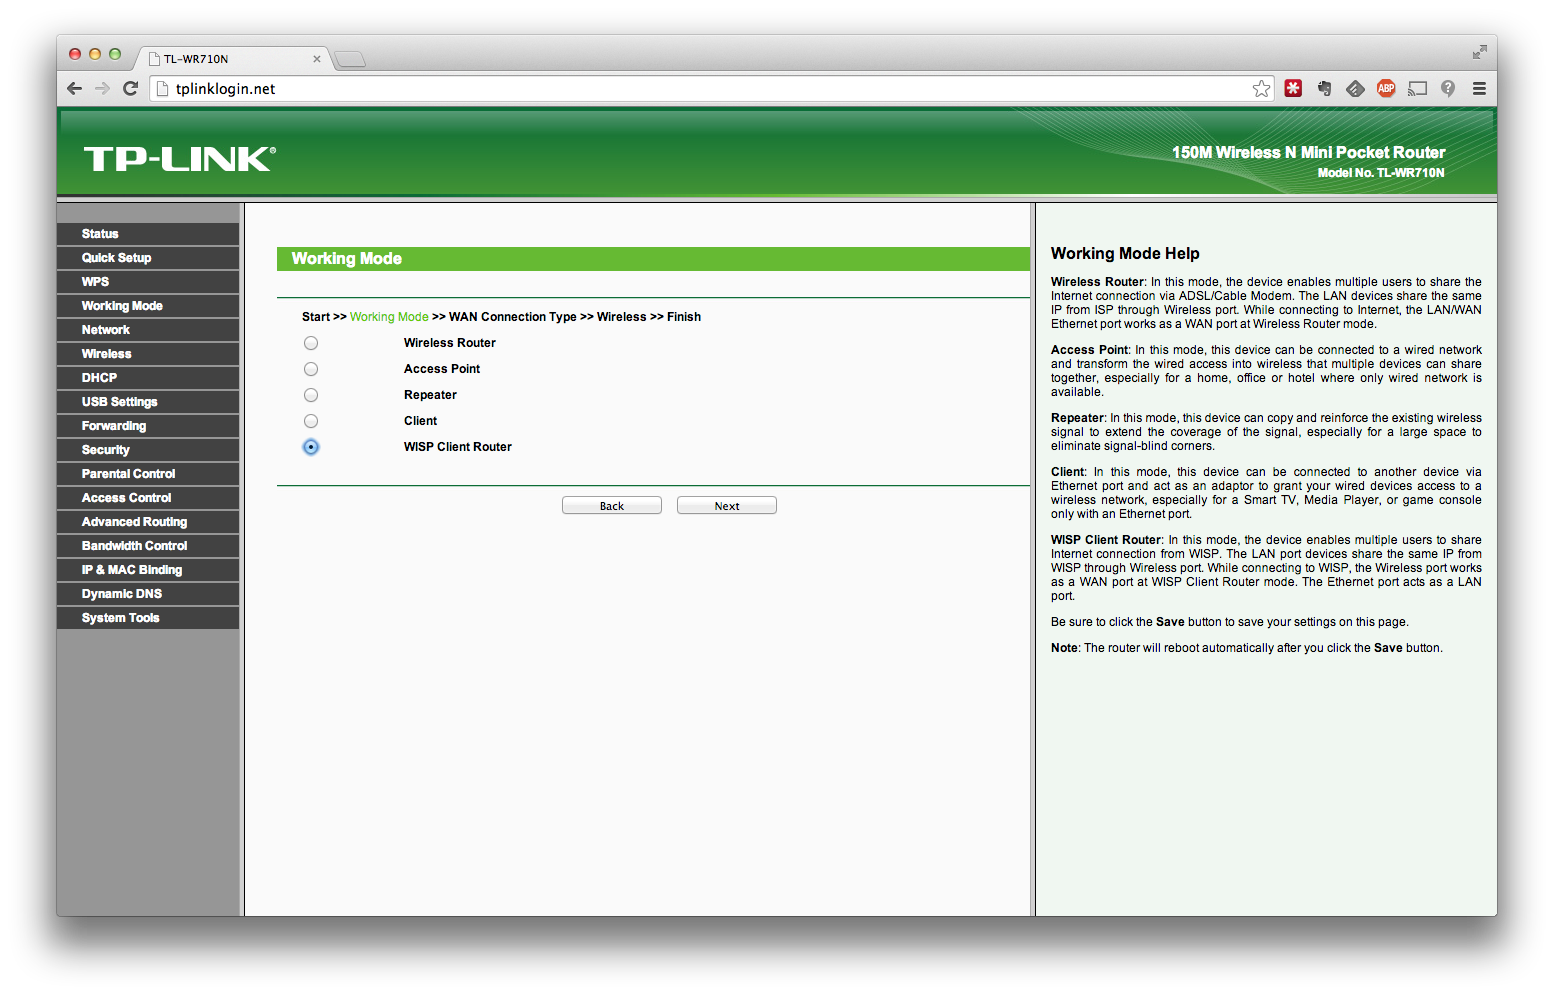
On the Working Mode page, select WISP Client Router and hit Next.
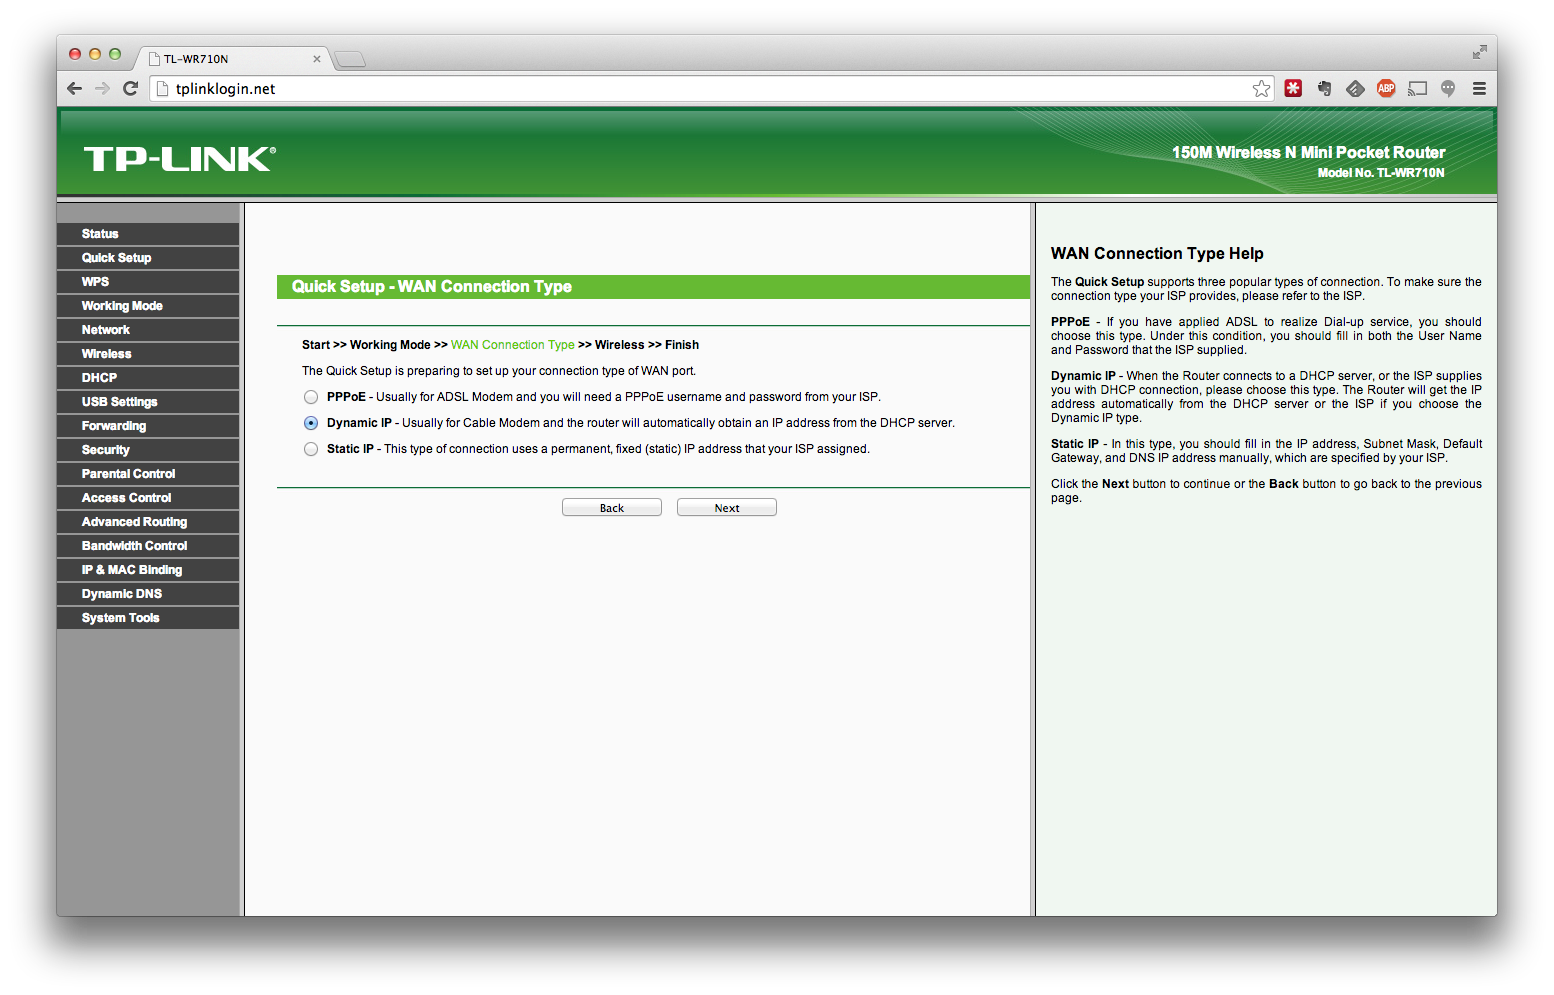
On the WAN Connection Type screen, choose Dynamic IP since we will be getting our access from the other networks DHCP services. We could also select Static IP, but in my case, I’ve already reserved a specific IP for this routers Host/MAC. Click Next
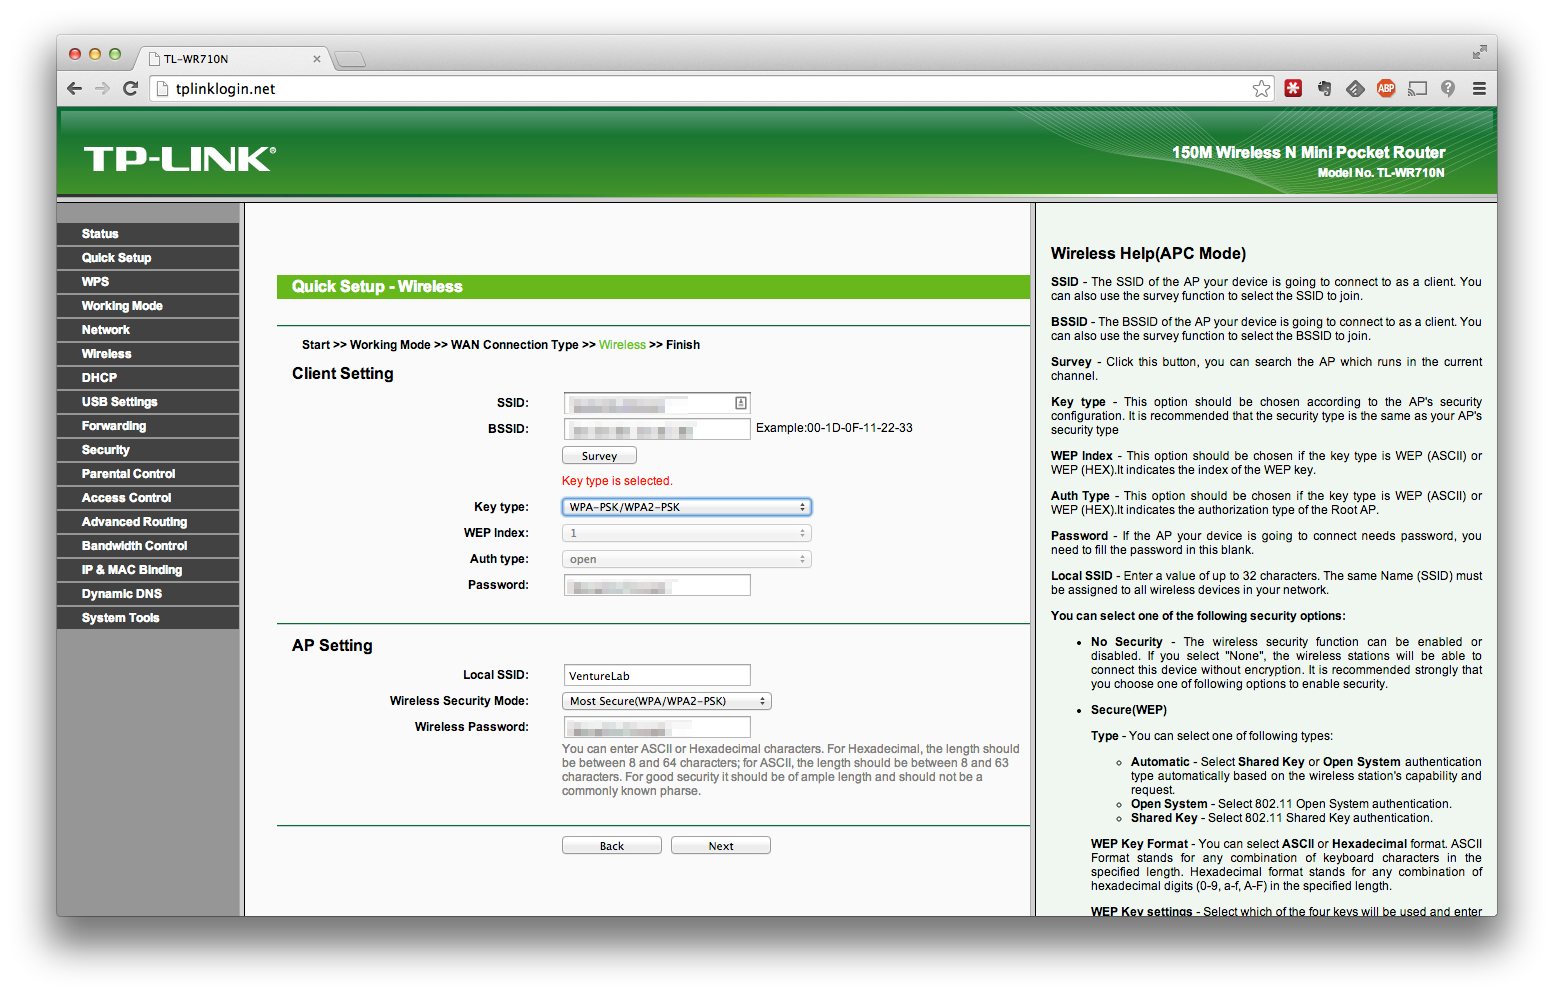
On the Wireless screen, for Client Setting, we enter our existing networks SSID/BSSID (use the Survey button to discover the BSSID) and the existing networks encryption type/password.
In the AP Setting section, enter a new SSID for the LAN side of this router along with an encryption type/password and hit Next.
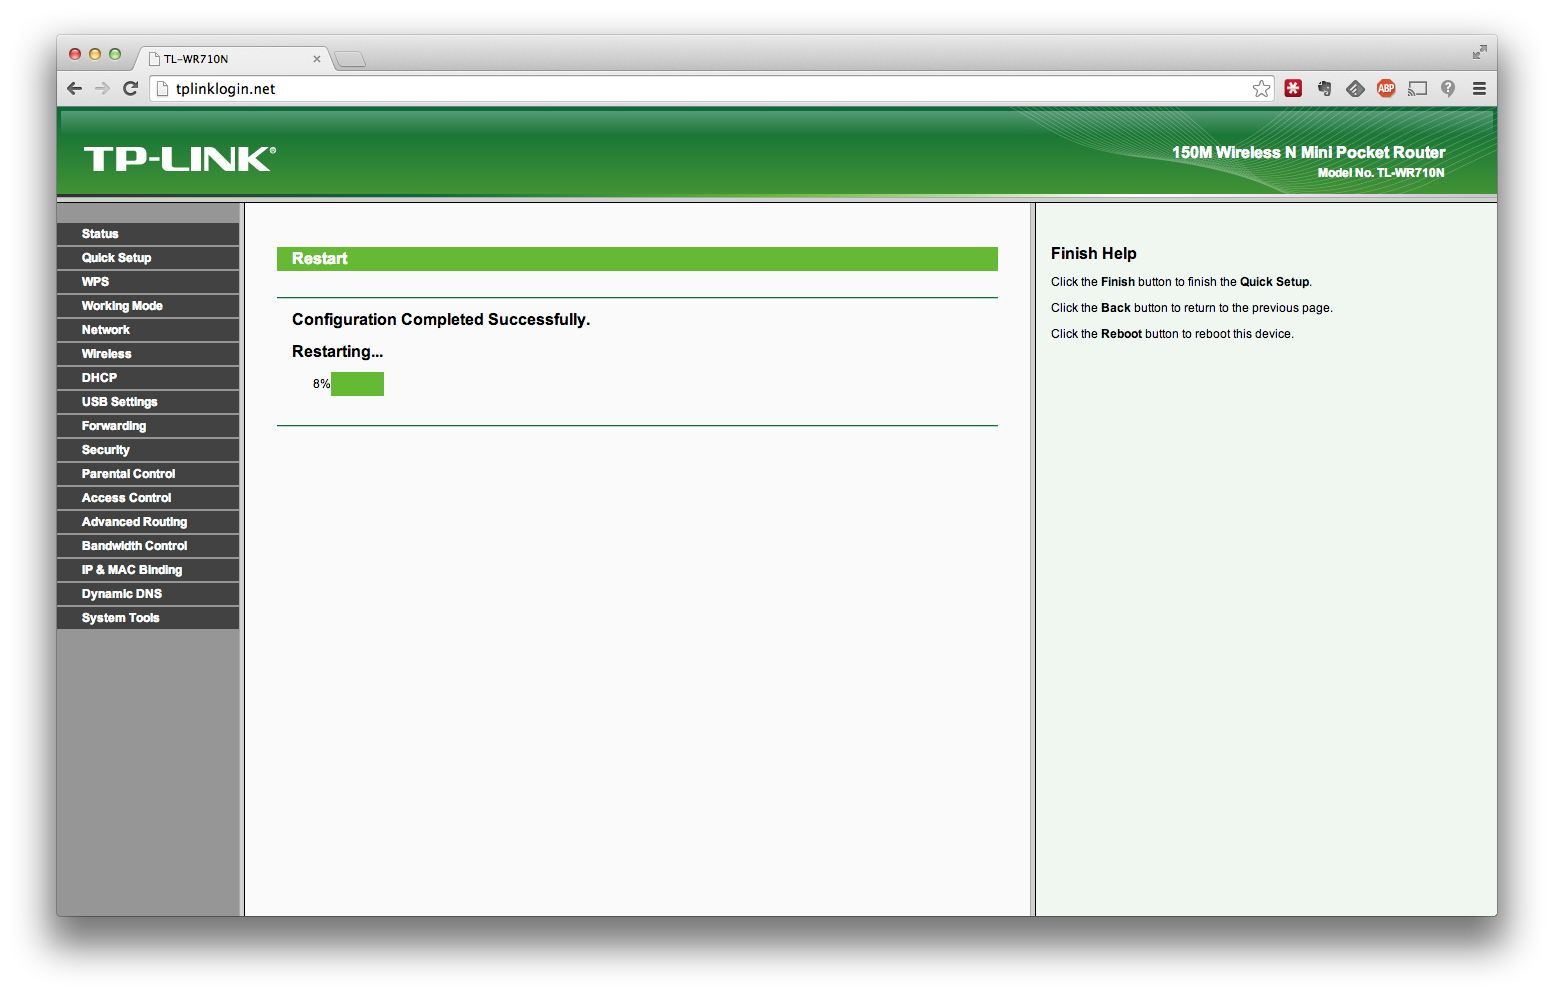
At this point, it will save the new settings and prompt you to reboot the pocket wifi router. Click Reboot.

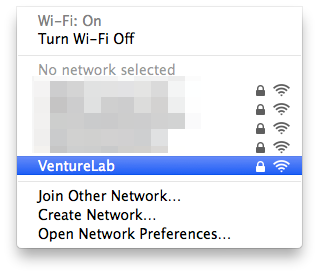
After a minute or so, once the unit reboots, you should now see the new network listed in your Wifi network settings:
Disabling DHCP
Because we’re going to have the SG300-20 do different DHCP pools based on VLANS, we’re going to disable DHCP in this AP itself to avoid and confusion later amongst all of the devices.
Once connected to the new network, go to the Network tab, click Disable and then Save

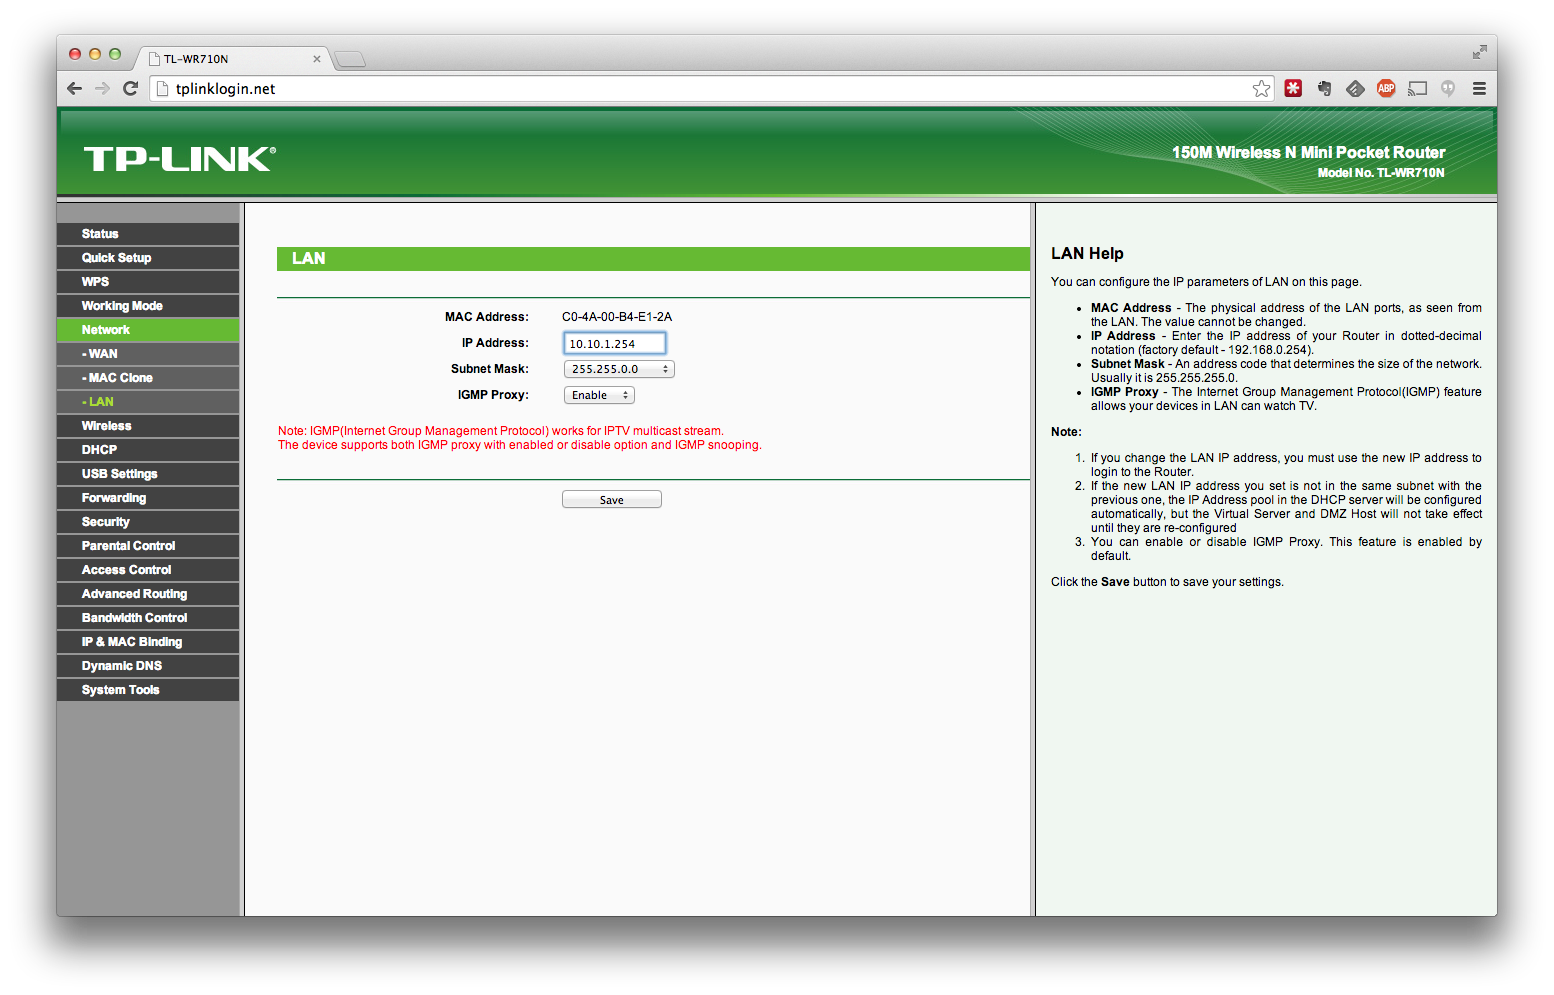
Configuring the LAN IP
All that’s left to do is configure the LAN IP of this AP to be the Gateway IP in our lab diagram. Choose Network → LAN, enter the new IP address and click Save
Once the unit reboots, and because the AP no longer hands out IP addresses via its own DHCP, you can test your work by entering the IP/Gateway information manually when connecting to the AP from your laptop:
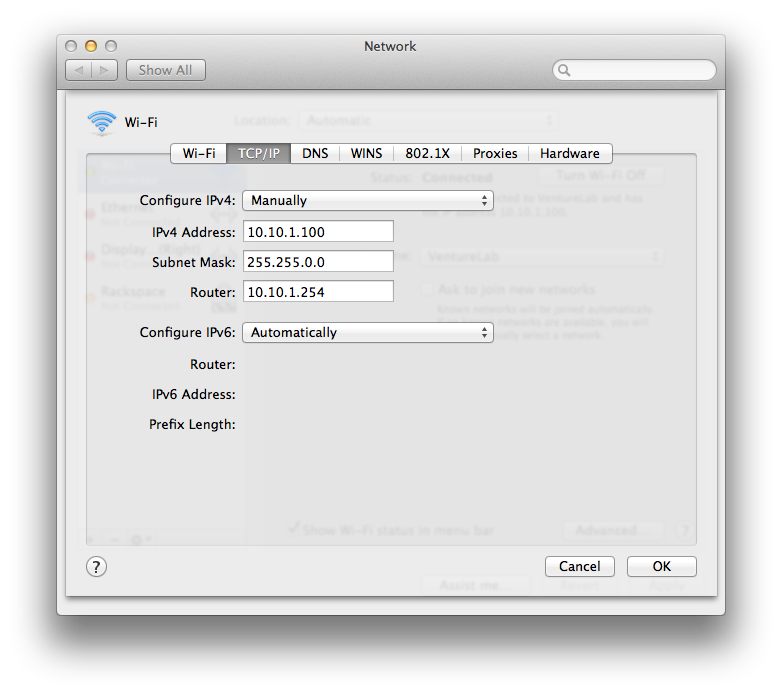
And that’s it. We now have our Lab Network → Existing Network via Wifi configured. At this point, you should be able to browse the interweb series of tubes.
Next Time on This Old Homelab
Next up, we’ll start configuring our SG300 switches with DHCP, VLANS, and update some firmware, configure SSH, etc.